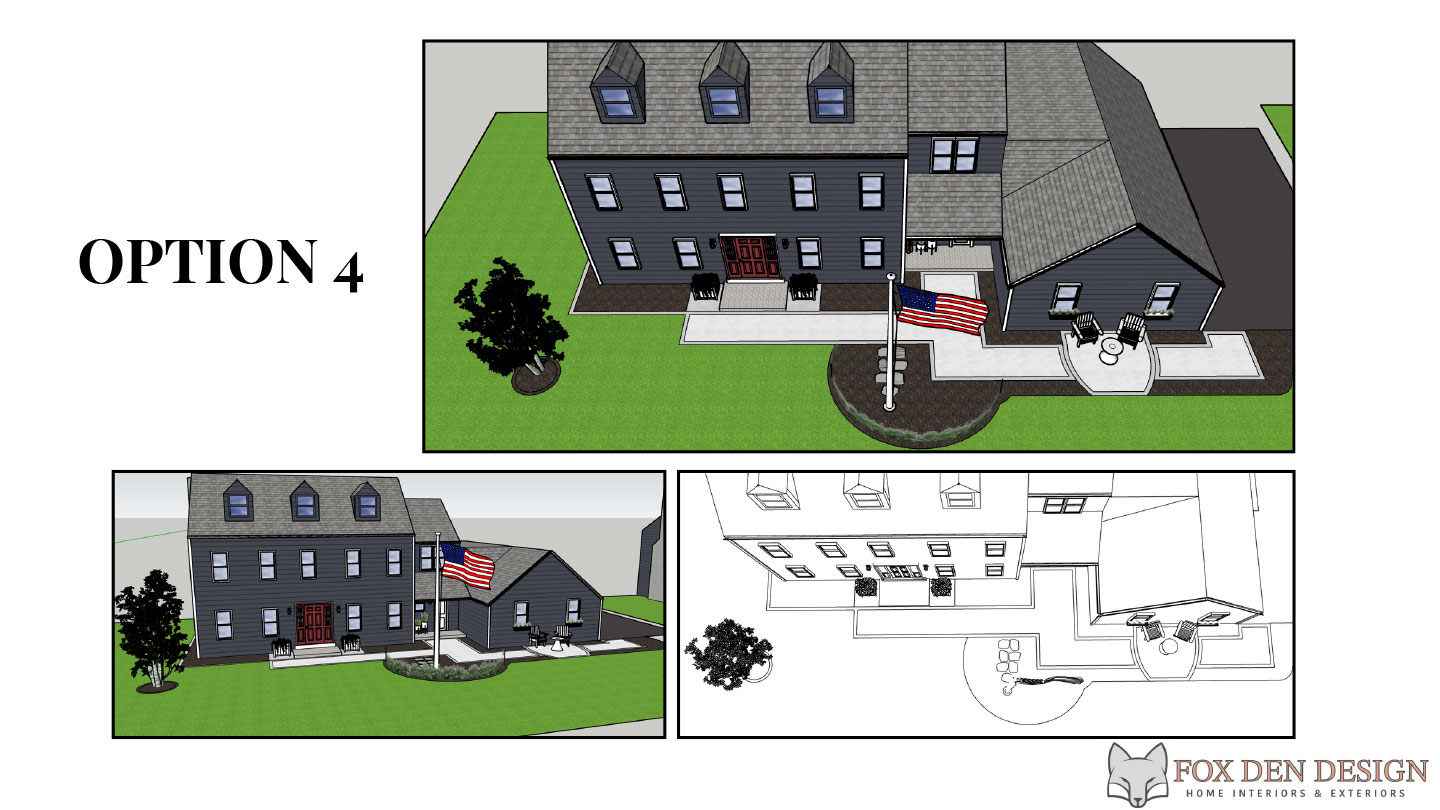
Creating a Landscaping 3D Rendering allows you to visualize and plan your outdoor space effectively. Here’s a step-by-step guide to help you create a detailed and realistic 3D rendering for landscaping:
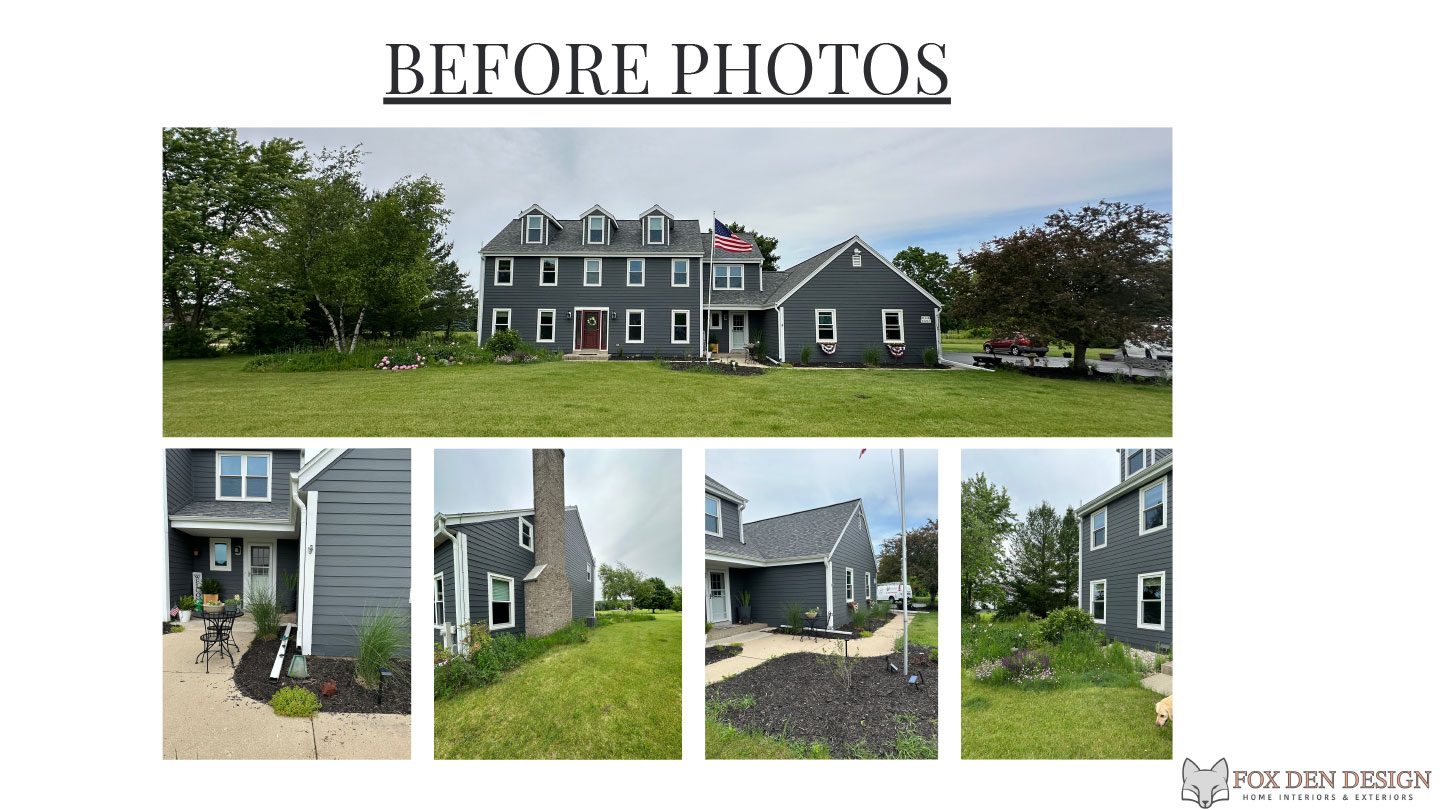
1. Site Assessment and Measurements: Begin by assessing your outdoor space. Measure the dimensions of the yard, including any existing features such as trees, shrubs, pathways, and structures like decks or patios. Note the location of utilities, drainage, and any potential obstacles.
2. Choose a 3D Rendering Software: Select a 3D rendering software that suits your skill level and project needs. Options range from professional software like SketchUp, AutoCAD, or Blender to more user-friendly tools like Home Designer Suite, Garden Planner, or even online platforms like Planner 5D or SketchUp Free.
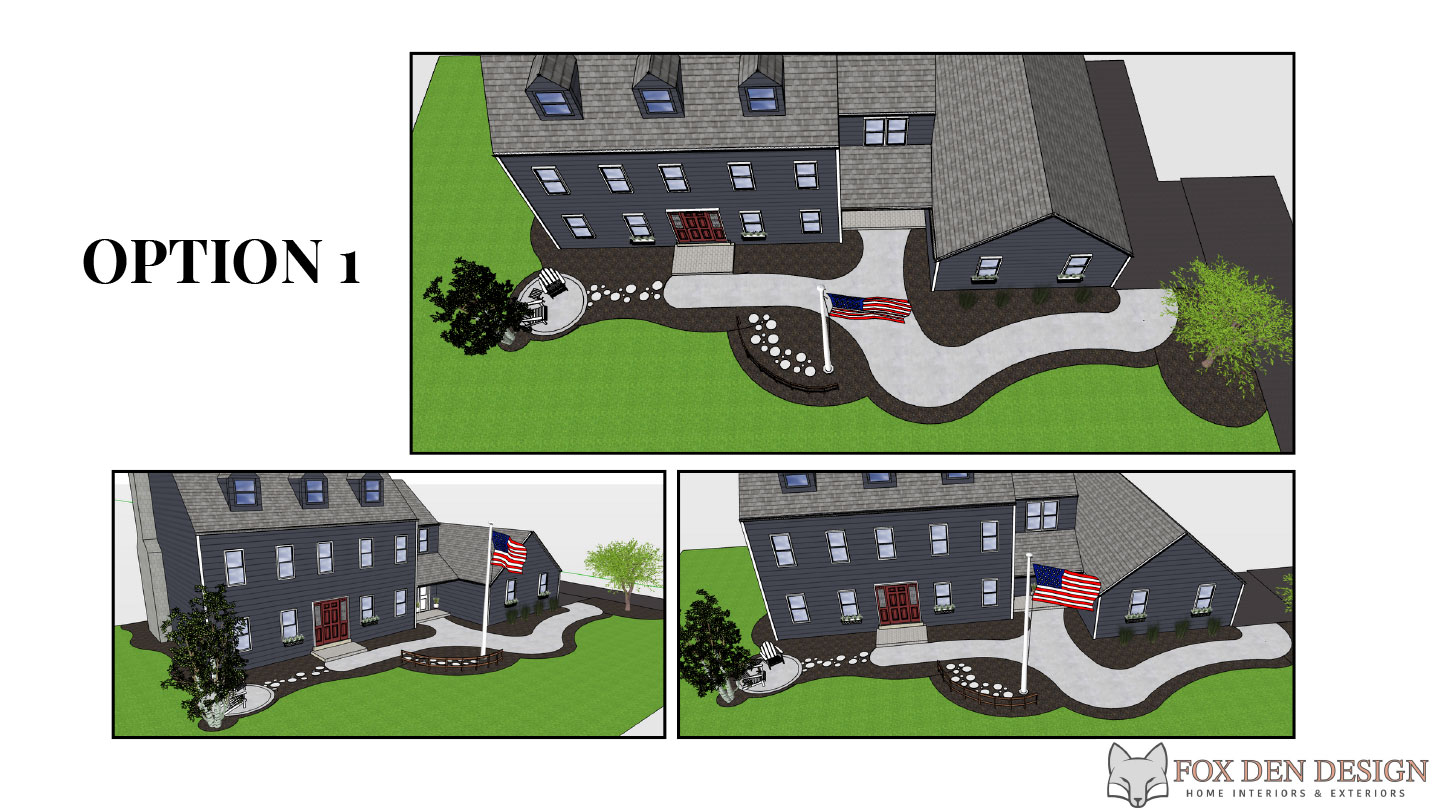
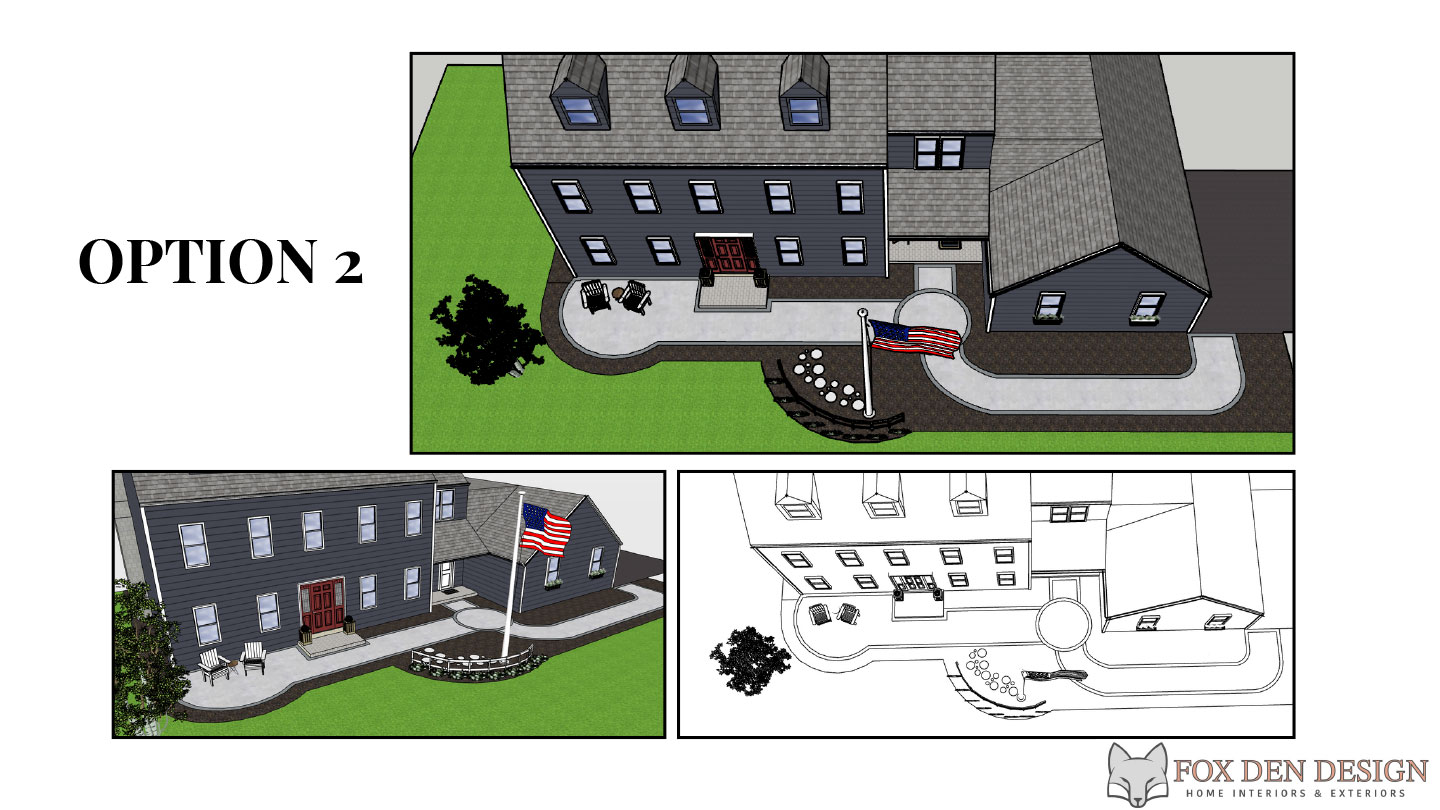
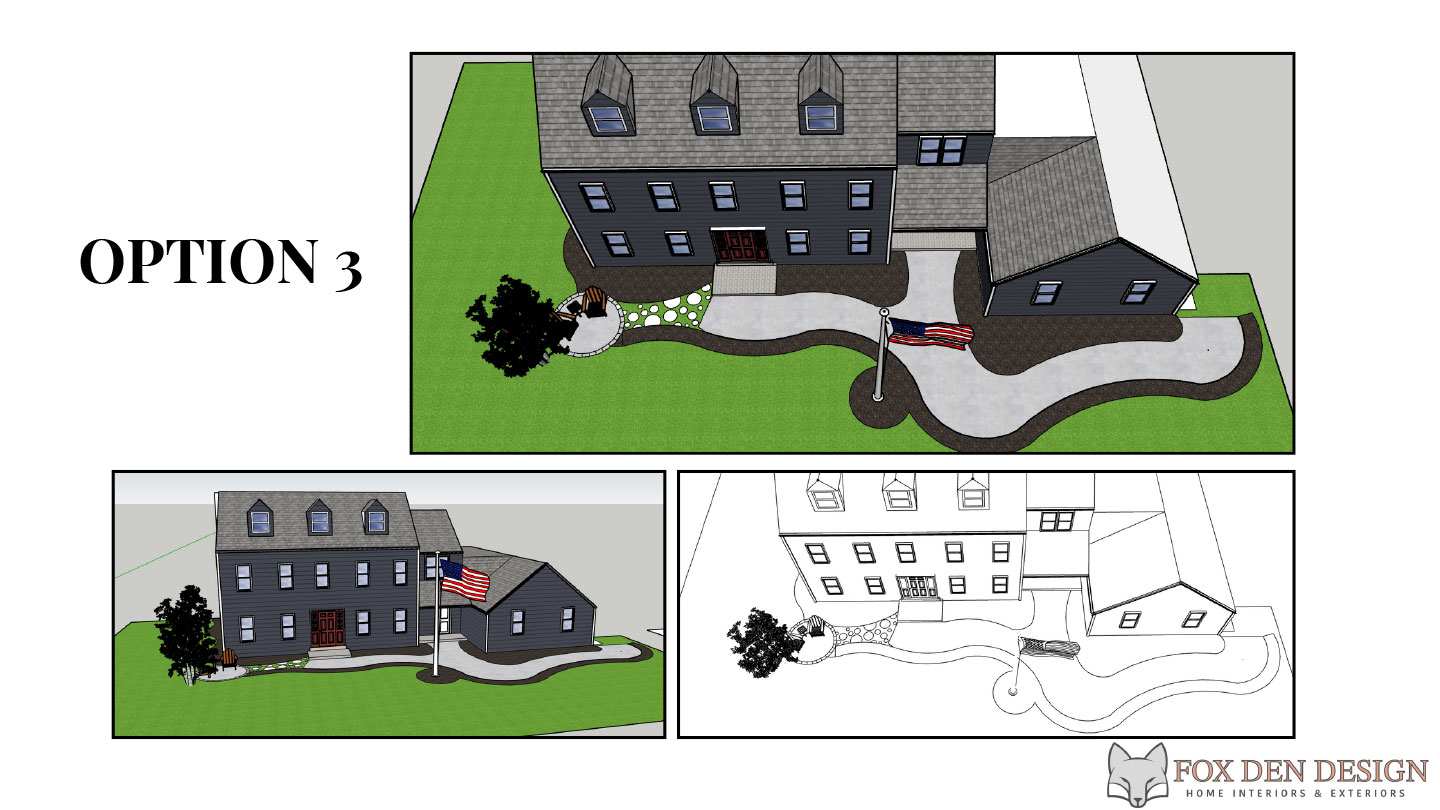
3. Create a Base Plan: Landscaping 3D Rendering, Use the software to create a digital base plan of your landscaping area. Input the measurements and features obtained from your site assessment. Designate areas for different purposes such as lawn, garden beds, pathways, and outdoor living spaces.
4. Add Hardscape Elements: Start adding hardscape elements such as decks, patios, pathways, retaining walls, and fences to the 3D model. Customize these elements based on materials like wood, stone, brick, or concrete to match your design preferences and architectural style.


HIRE US FOR YOUR NEXT PROJECT
CONTACT US FOR YOUR FREE CONSULTATION

