3D RENDERING
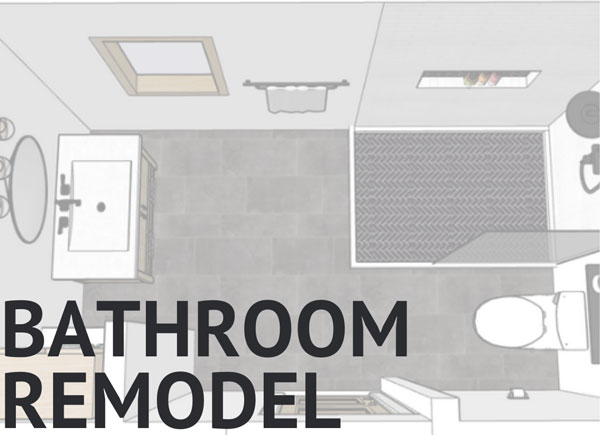
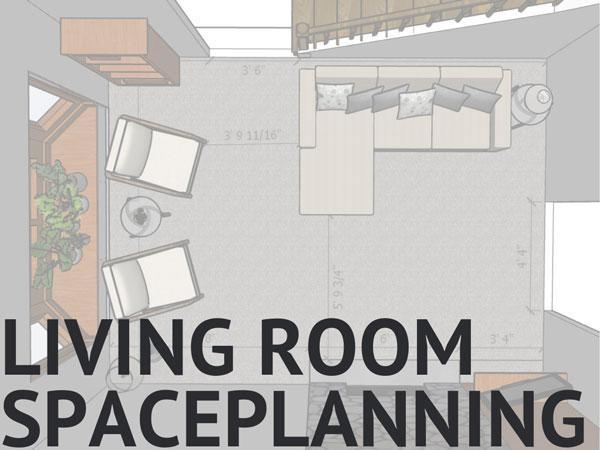
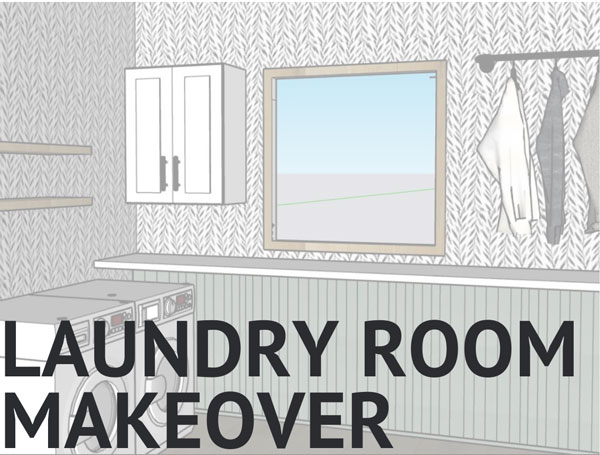
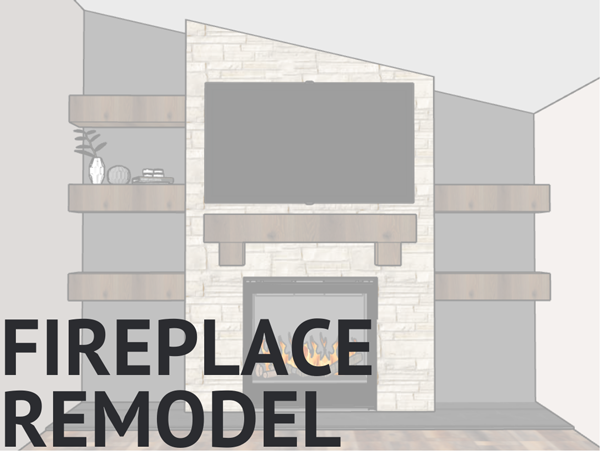
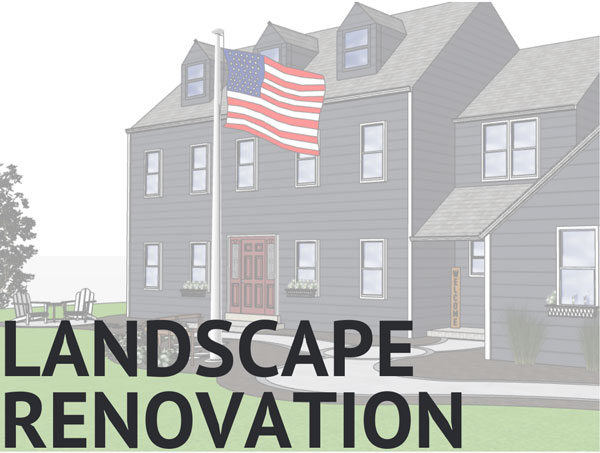
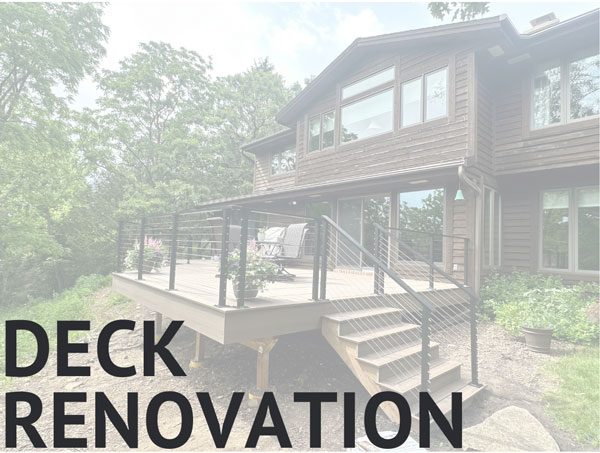
A 3D rendering is when the designer is given all specific measurements of a project, which is then turned into a 3D model using a computer software. This rendering provides accurate measurements and can show any material or detail that is requested. This rendering is used for remodels, space planning, and new additions.
Here is What My Clients Have To Say
HIRE US FOR YOUR NEXT PROJECT
CONTACT US FOR YOUR FREE CONSULTATION
3D RENDERING
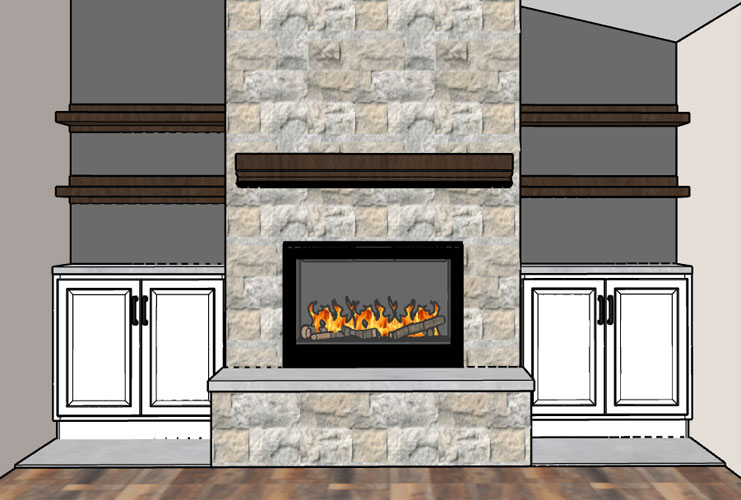
A 3D rendering is when the designer is given all specific measurements of a project, which is then turned into a 3D model using a computer software. This rendering provides accurate measurements and can show any material or detail that is requested. This rendering is used for remodels, space planning, and new additions.
Here is What My Clients Have To Say
Creating a 3D rendering involves using software to generate a realistic and detailed visual representation of a space, object, or concept. Here’s a comprehensive guide on how to create a 3D rendering:
1. Choose 3D Rendering Software: Select a 3D rendering software that suits your needs and proficiency level. Popular options include:
- Blender: Free and open-source software with powerful modeling and rendering capabilities.
- SketchUp: User-friendly and versatile for architectural and interior design projects.
- 3ds Max: Robust software for professionals with advanced rendering and animation tools.
- Cinema 4D: Known for its intuitive interface and strong motion graphics capabilities.
- Revit: Ideal for architectural design, BIM (Building Information Modeling), and construction.
2. Create or Import 3D Models: Start by creating or importing 3D models of the objects or environments you want to render. Use modeling tools within the software to build structures, furniture, landscapes, or other elements.
3. Set Up the Scene: Arrange the 3D models within the software to create the desired scene. Define the lighting, camera angles, and perspectives to achieve the desired visual composition.

